React Native has become one of the most popular frameworks for building cross-platform mobile apps. With React Native for Web (React Native Web), you can now use React Native to build web apps as well. This allows you to leverage your existing React Native code for web development.
In this post, we’ll look at how to build an accessible React Native web app that follows web accessibility guidelines. Accessibility should be a key consideration in any web or mobile development so your app can be usable by all people.
Why Accessibility Matters?
Web accessibility means building apps that work for all users, including those with disabilities like visual, motor, cognitive, hearing impairments, and more. There are many benefits of accessible React native web apps:
- Broader reach: An accessible app can be used by more people.
- Legal compliance: Many countries require web accessibility as part of regulations.
- Improved SEO: Accessible sites tend to rank better in search engines.
- Reduced liability: Lower risk of lawsuits related to inaccessibility.
- Good design: Accessible features also improve UX for non-disabled users.
While discussing the development of an accessible React Native web app, it’s important to consider how the choice of a state management library can significantly impact the app’s responsiveness and user experience.
React Native Web Accessibility Considerations:
When building a React Native web app, you’ll need to ensure accessibility in these key areas:
Semantic HTML
Use proper HTML elements and attributes to convey meaning and structure to screen readers. For example, use <button> instead of <div> for buttons.
ARIA attributes
ARIA (Accessible Rich Internet Applications) attributes further enhance the accessibility of elements, like labeling <div>s if you can’t use native elements.
Keyboard navigation:
Ensure users can navigate the entire app using a keyboard without a mouse or touchscreen.
Color and contrast:
Colors should meet minimum contrast ratios so that text is readable. Don’t convey meaning through color alone.
Focus management
As users navigate with the Tab key, the keyboard focus should move logically without getting trapped.
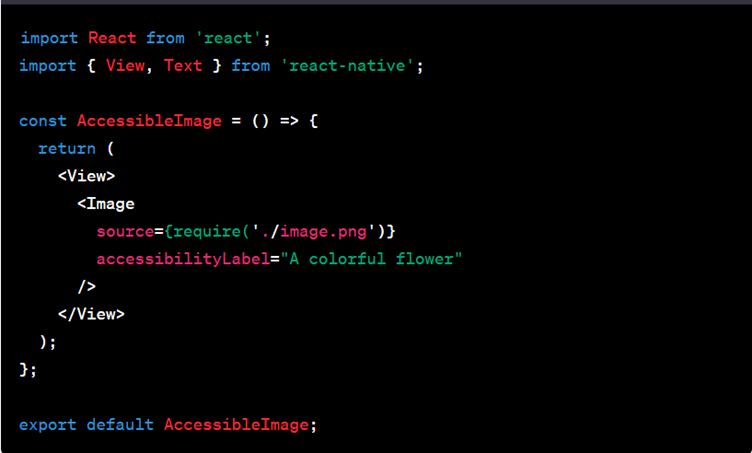
Alt text
Provide textual descriptions of image content for screen reader users.
Building an Accessible React Native Web App
Now, let’s walk through how to build an accessible React Native web app from scratch. We’ll use React Native for Web and Expo.
Step 1: Set Up Your Development Environment
Install Node.js and npm: If you haven’t already, install Node.js and npm by downloading the installer from the official website.
Install Expo CLI: Expo is a toolchain and platform for React Native app development. Install the Expo CLI globally using npm:

Step 2: Create a New Expo Project
Create a New Expo Project: Use Expo CLI to create a new project. Choose the “blank” template or another suitable template based on your project requirements.

Navigate to the Project Folder: Change your working directory to the newly created project folder.

Step 3: Install React Native for Web
Install React Native for Web
To make your app compatible with the web, you’ll need to install React Native for Web as a dependency:

Configure Babel
In your project’s root directory, create or edit a .babelrc file to configure Babel to transform React Native components for the web. Add the following code:

Step 4: Code Your Accessible React Native App
Now, you can start coding your accessible React Native app:
Create Components
Develop your app’s components using standard React Native components like <View>, <Text>, <Button>, and others.
Implement Semantic HTML
As discussed in a previous response, use semantic HTML elements like <Text>, <View>, and <Image> appropriately to create a logical and accessible structure.
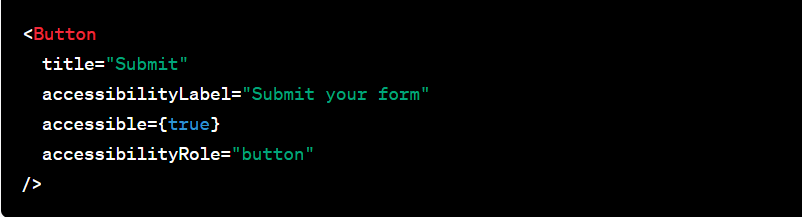
Add Accessibility Props
Enhance your app’s accessibility by adding accessibility-related props to components. For instance, include accessibilityLabel, accessible, and accessibilityRole.
Implement Keyboard Navigation
Ensure keyboard navigation and focus management are implemented correctly. Components should receive focus in a logical order when using the keyboard.
Test with Screen Readers
Use screen readers such as VoiceOver (iOS) or TalkBack (Android) to test your app’s accessibility. Make adjustments as needed to ensure a positive experience for screen reader users.
Step 5: Run and Test Your App
Start Your Development Server
Launch your Expo development server by running:

Access the App in a Web Browser
Open your web browser and go to the Expo DevTools interface. You can access it by scanning the QR code in your terminal or clicking on the provided link.
Test on Mobile and Web
Test your app on a mobile device using the Expo Go app and in a web browser. Ensure that it functions correctly and is accessible on both platforms.
Features that Enable Accessibility:
1. AccessibilityProps
Accessibility props are a set of attributes that can be added to React Native components to make them more accessible. Here are some common accessibility props and examples of how to use them:
- accessibilityLabel:
A brief label or description for the element. This is especially important for components like images, buttons, or icons.
- accessibilityRole:
Specifies the role of the element. This helps screen readers understand the purpose of the element.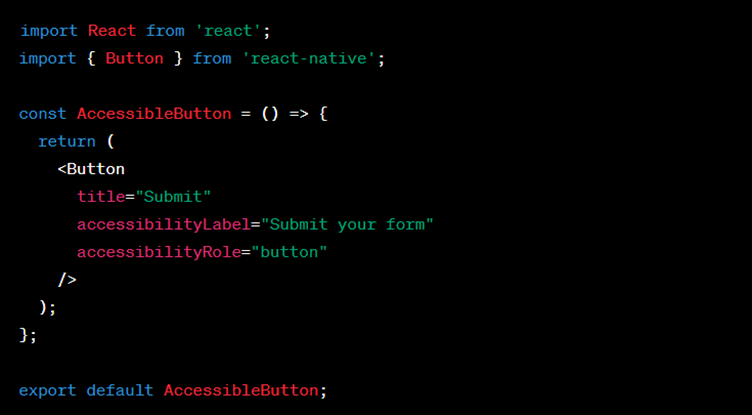
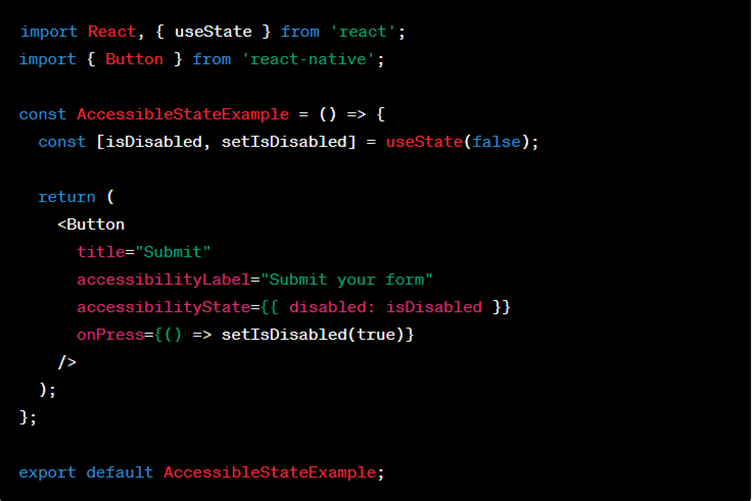
- accessibilityState:
Provides additional accessibility information about the element’s state. For instance, it can be used to convey whether an element is disabled or selected.
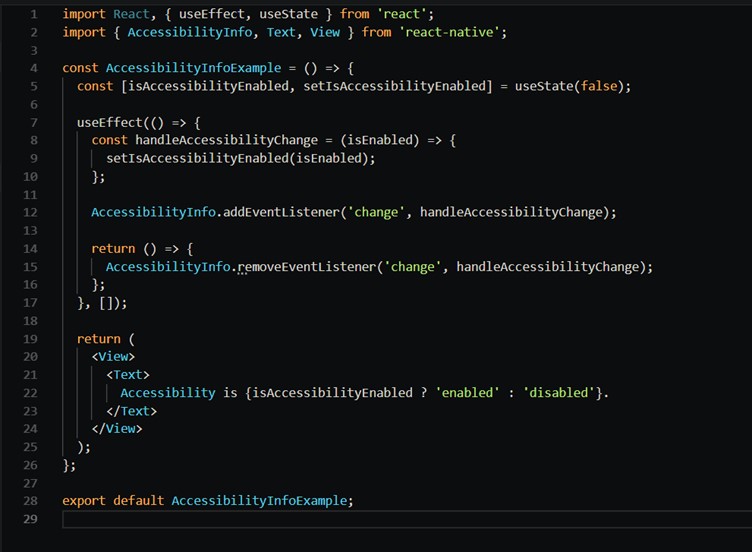
2. AccessibilityInfo API
The AccessibilityInfo module allows you to listen for changes in the accessibility state of the device. You can use this information to provide alternative behavior or content when accessibility features are enabled. Here’s an example of how to use it:
3. Touchable Components
React Native provides touchable components like TouchableOpacity, TouchableHighlight, and TouchableWithoutFeedback that automatically provide accessibility support for touch interactions. You can use them just like regular components, and they’ll handle accessibility for you.
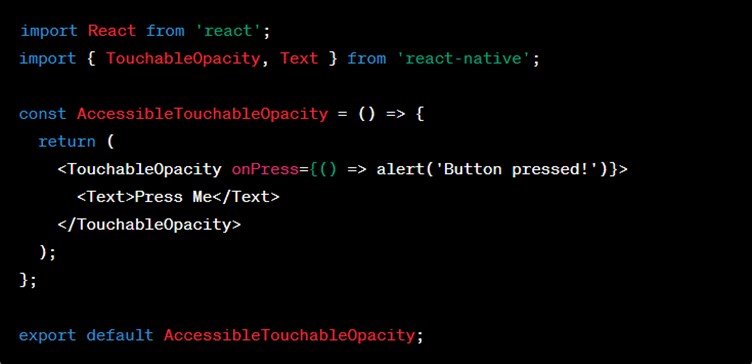
These components will be focusable and usable with both touch and keyboard navigation.
Conclusion
Making mobile apps accessible to everyone is essential to get the most out of it. React Native offers tools and features that help React Native developers create apps that are easy to use for everyone.
When developers focus on making their apps accessible, it benefits them and the users. It means more people can use the app, and it ensures that everyone has equal access to digital services.
If you’re a business owner wondering if React Native Accessibility can help you reach a broader audience, you can get help from experts like VisionX, a React Native App Development Company. They can assist you in achieving your business goals and expanding your business.